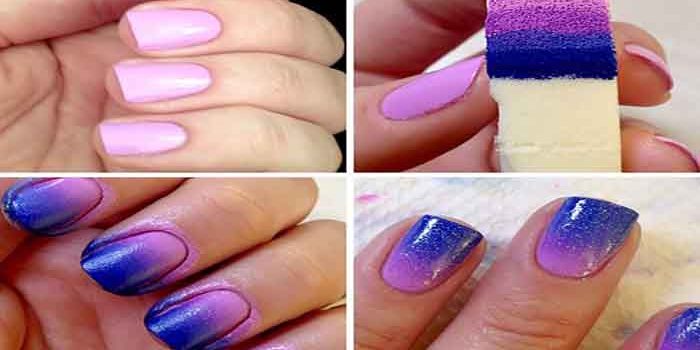
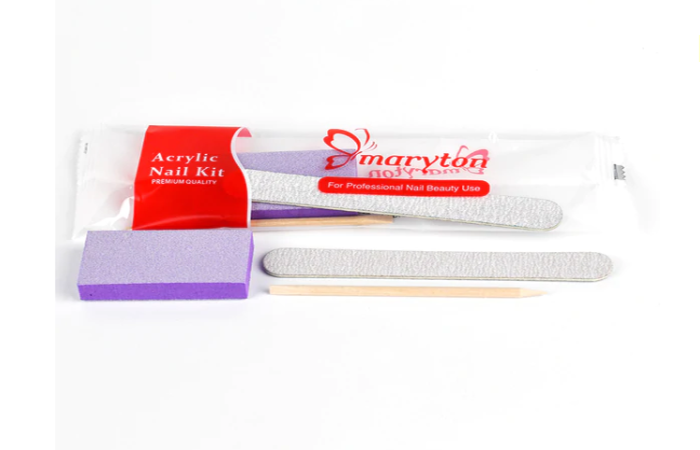
Very popular with varnish addicts, the sponge allows you to blend colors together and create unique finishes. A minimum of two colors is enough to start. You can easily mix a variety of colors. Bring your manicure set and let your creativity speak!
Step 1: Apply your base color
On perfectly manicured and short cut nails, apply a classic base. This layer will protect your nail from the dark color pigments that you will use later. Wait 1 to 2 minutes for this varnish to dry, then successively apply two coats of black lacquer.
Step 2: Create the relief with your sponge
Tear off a small end of your sponge and dip the irregular side into the small drop of blue varnish. Tap each of your nails randomly. Then reproduce the same gesture with the purple varnish. Let dry.
Step 3: Dress in silver sequins
Apply a bit of gray glitter nail polish on the same surface and apply again to all of your nails. Let dry, and during this time, clean your nails with a fine brush dipped in solvent to eliminate any trace of overflow. Apply a top coat to unify and add shine.
Variation: Dare to add stars to the finish!
Using tweezers, apply star-shaped stickers. You will then need to apply a new layer of top coat to fix everything.
OK! Now that you have known how to do a sponge manicure, take into action! To discover more products to realize your nail care click here.
Read also: The top new nail art


