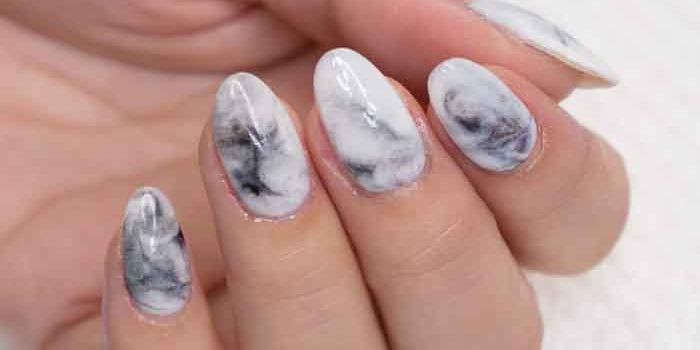
One of the big nail trends of recent years is the marbled effect. In general, we start with a white base and create ‘marbling’ to obtain an original and stylish effect guaranteed. Today, this article will tell you how to easily reproduce it at home.
As before any manicure, it is essential to properly prepare your nails. Remove your cuticles and file your nails to the desired length with a nail drill machine. Thoroughly clean your hands and nails. Then you can move on to the marble effect manicure!

Then, it’s time to move on to the marbled effect on your nails! As a first step, apply the base color. For the marbled effect, we choose a white color. Apply your semi-permanent varnish as usual with the UV or LED lamp. Apply your two coats of white varnish before moving on.

It’s time to get started with marbled patterns! To do this step well, I advise you to equip yourself with a special Nail Art brush. This will allow you to be more precise in your gestures. Choose a black varnish to make the marbling. Take your nail art brush and make three small drops on your nail with the black varnish.
Once these drops have been deposited, you must use top coat to create the marbling! Use a small drop of top coat varnish to connect the three drops of black varnish together with irregular lines. Don’t forget to apply the final layer of top coat to maximize the hold of your marbled manicure.
Read also: What Are The Different Types Of Color French Manicure?


