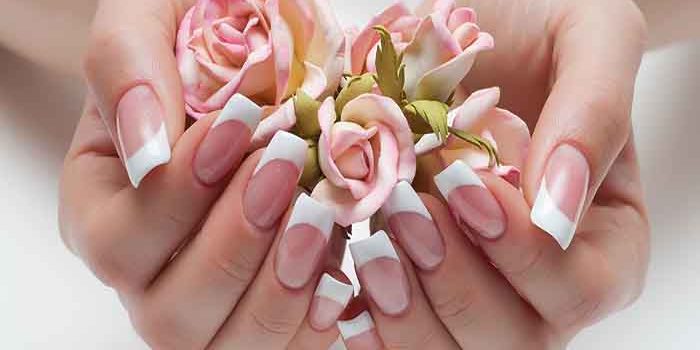
When people marvel at the beauty of American nail pose, have you ever wondered how to do an American pose? In fact, with a little practice, you can achieve a professional and elegant American pose at home. Today, the nail supply expert Maryton will tell you how to do an American pose. Just keep reading!
Here is a mini guide on how to achieve an American nail pose:
Step 1: Nail preparation
- Start by cleaning your nails to remove all impurities.
- Gently push back the cuticles with a wooden stick.
- File and shape your nails to your liking.
Step 2: Application of the gel capsules
- Choose the gel capsules adapted to the size of your natural nails.
- Apply a small amount of glue inside the capsule.
- Gently place each capsule on the end of the natural nail and press firmly.
- Let it dry for a few moments.
Step 3: Adjusting the capsules
- Use a nail file to adjust the length and shape of the gel caps.
- Smooth the edges and surface of the capsules for an even finish.
Step 4: Apply builder gel
- Apply a thin layer of builder gel over the entire nail, avoiding the cuticles.
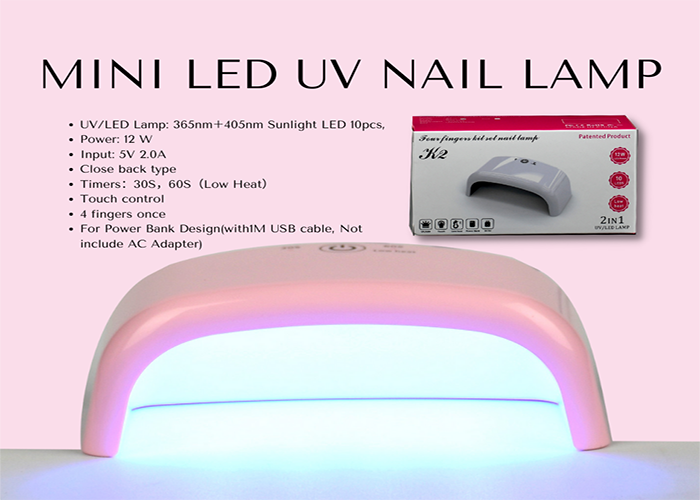
- Use a UV or LED lamp to catalyze the gel and harden it.
Step 5: Finishing
- File the surface of the nails lightly to eliminate irregularities.
- Apply a nail polish of your choice, following the classic steps (base, colored polish and top coat).
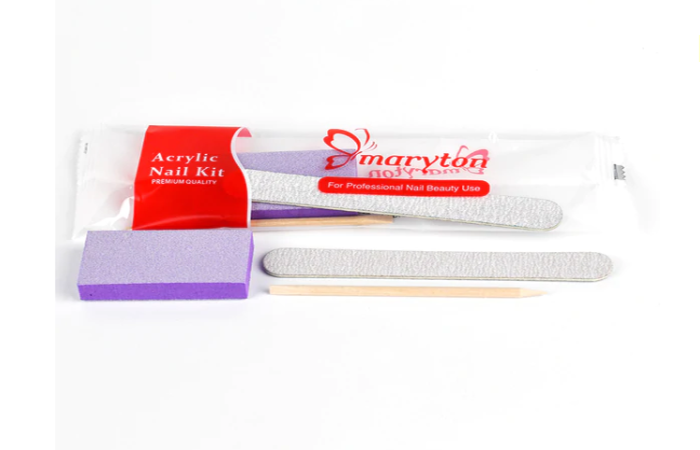
Hoping that this article has pleased you and will give you ideas! In addition, I also advise you to invest in some professional manicure sets to begin your manicure trip!


