
The application of a semi-permanent varnish isn’t complex. There are various steps to take to achieve this. Today, your nail supply expert Maryton will tell you the application steps of semi-permanent varnish.
Preparing the toenails
It is necessary to remove the varnish which remains and to make a good relaxing foot bath. Then it is necessary to give them a shape and push back the cuticles. The final step is moisturizing and cleansing.
Applying the base coat
Start by depositing the base coat on the nails of the feet. This is the protective base. It is after this process that the fixing is carried out using the UV LED lamp or the LED lamp.
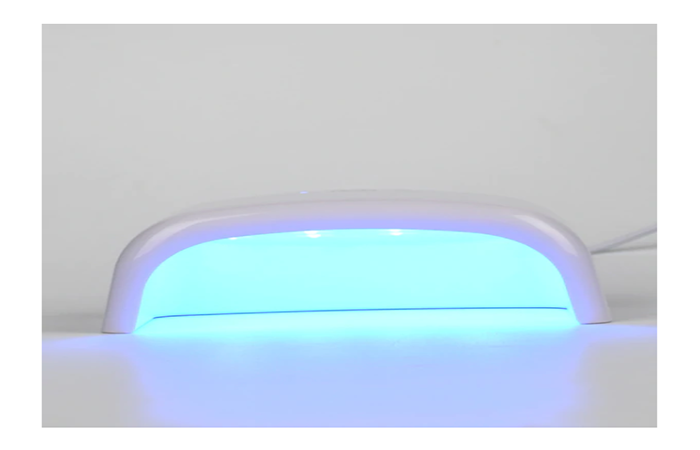
$12.90
The application of the semi-permanent varnish
After fixing the base coat, it is necessary to apply the first coat of semi-permanent varnish. You should then place your feet under the LED lamp or the UV lamp for at least one minute.
Applying the top coat
Now, it is necessary to continue with the application of a second layer of semi-permanent varnish, the top coat, followed by a fixation with the LED lamp to harden the gel effectively.
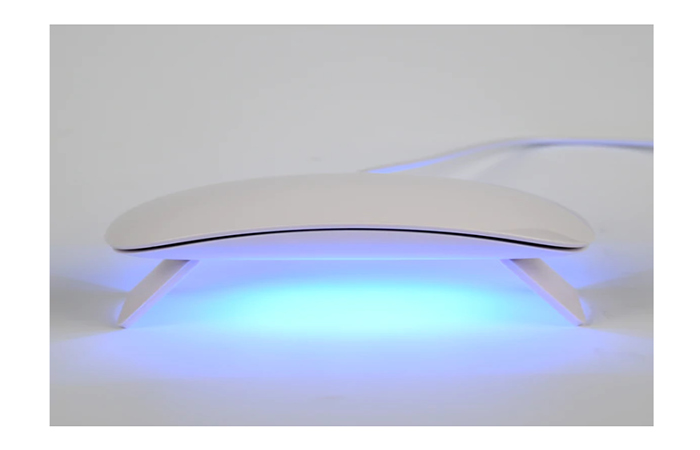
$6.90
OK! You have know the application steps of semi-permanent varnish! In addition, you also need a gentle manicure and pedicure set to take care of your nails on a daily basis.


